Install Git On Windows: Git is a version control system that lets you keep track of file changes. You can quickly revert to an earlier version if required. Git lets you have a local and remote repository, so you can easily collaborate with others and keep all your changes in one place.
You can install Git on Windows in a few different ways. Here is all the information you will need to know about it.
| Post On: | Install Git On Windows |
| Post Type: | GIT Tutorial |
| Published On: | www.softwaretestingo.com |
| Applicable For: | Freshers & Experience |
| Get Updates: | Join Our Telegram Group |
Prerequisites to install Git on Windows 11 / 10 / 8
To install Git on Windows, there are a few prerequisites you’ll need to check off first. Here is the list:
- Administrator privileges for your Windows account
- Access to a command-line tool (such as CMD or PowerShell)
- Username and password for Git (optional)
- Your favorite text editor
- Ubuntu on WSL (if you’re installing on it)
How to Install GIT in Windows 11/ 10/ 8
Now that we know what Git is, let’s move on to learning how to install it the traditional way. In this traditional way of installing Git on Windows 8 / Windows 10 / Windows 11, we will explain it all step-by-step so that without any issues, you can install GIT on your Windows machine.
Step 1: Download Git
The first step to getting started with Git is downloading the setup file from the GIT official website. To do so, click on the link. Once the webpage opens, As we are going to install GIT on a Windows machine, you need to click on the windows.
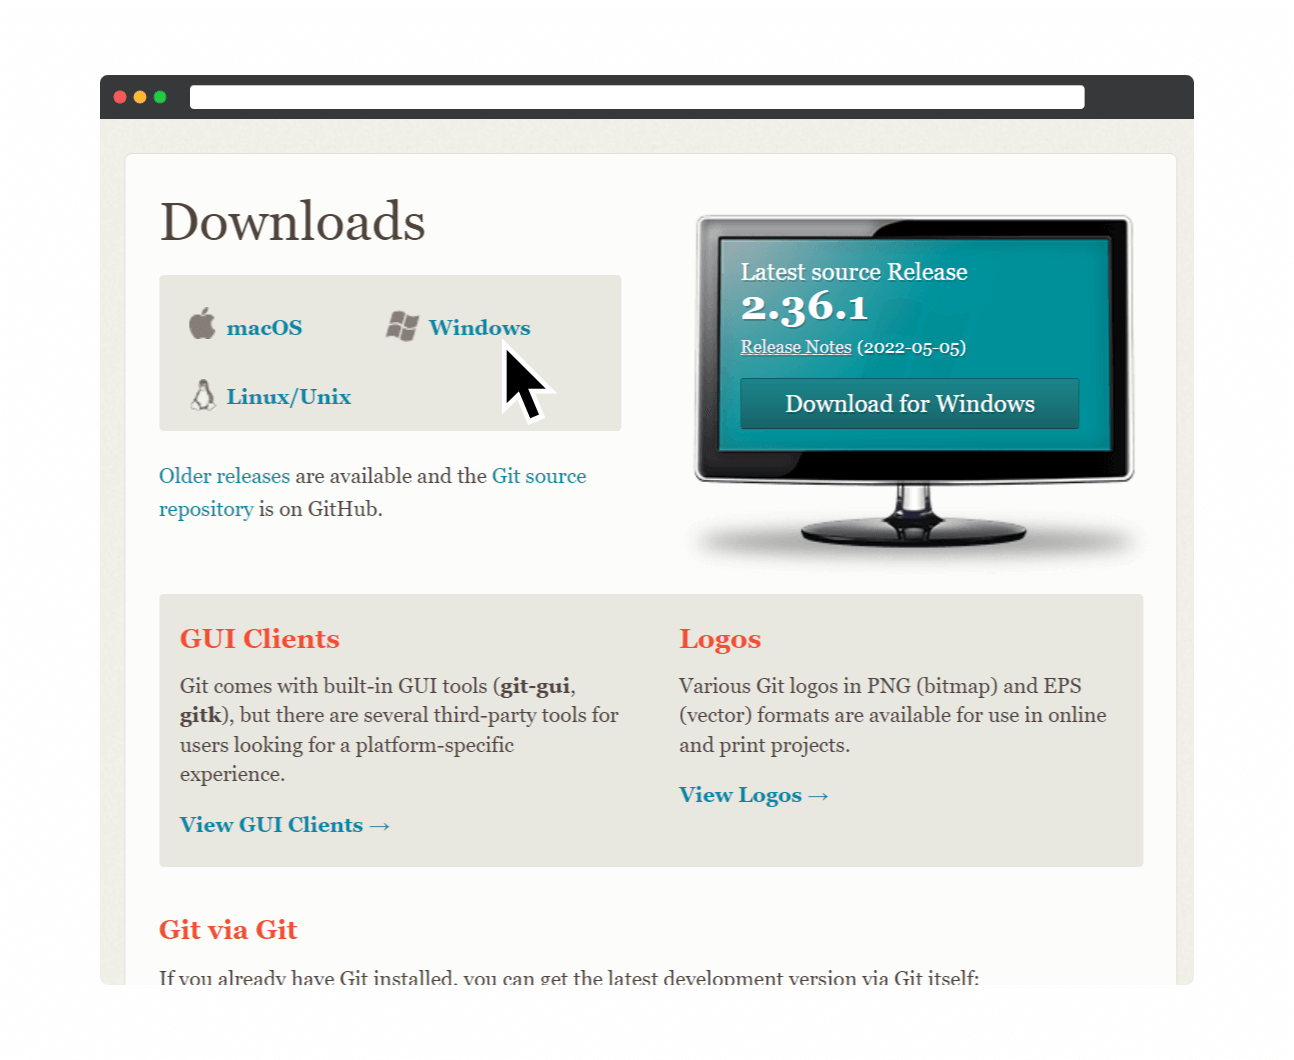
After clicking on Windows, it will redirect you to the Download for Windows page. You have to select which version (32/64) you want to download. As you can see, two different versions of the GIT setup file are present (GIT Standalone Installer and Portable Thumb drive edition ). But for this time, we will proceed with the Standalone Installer.
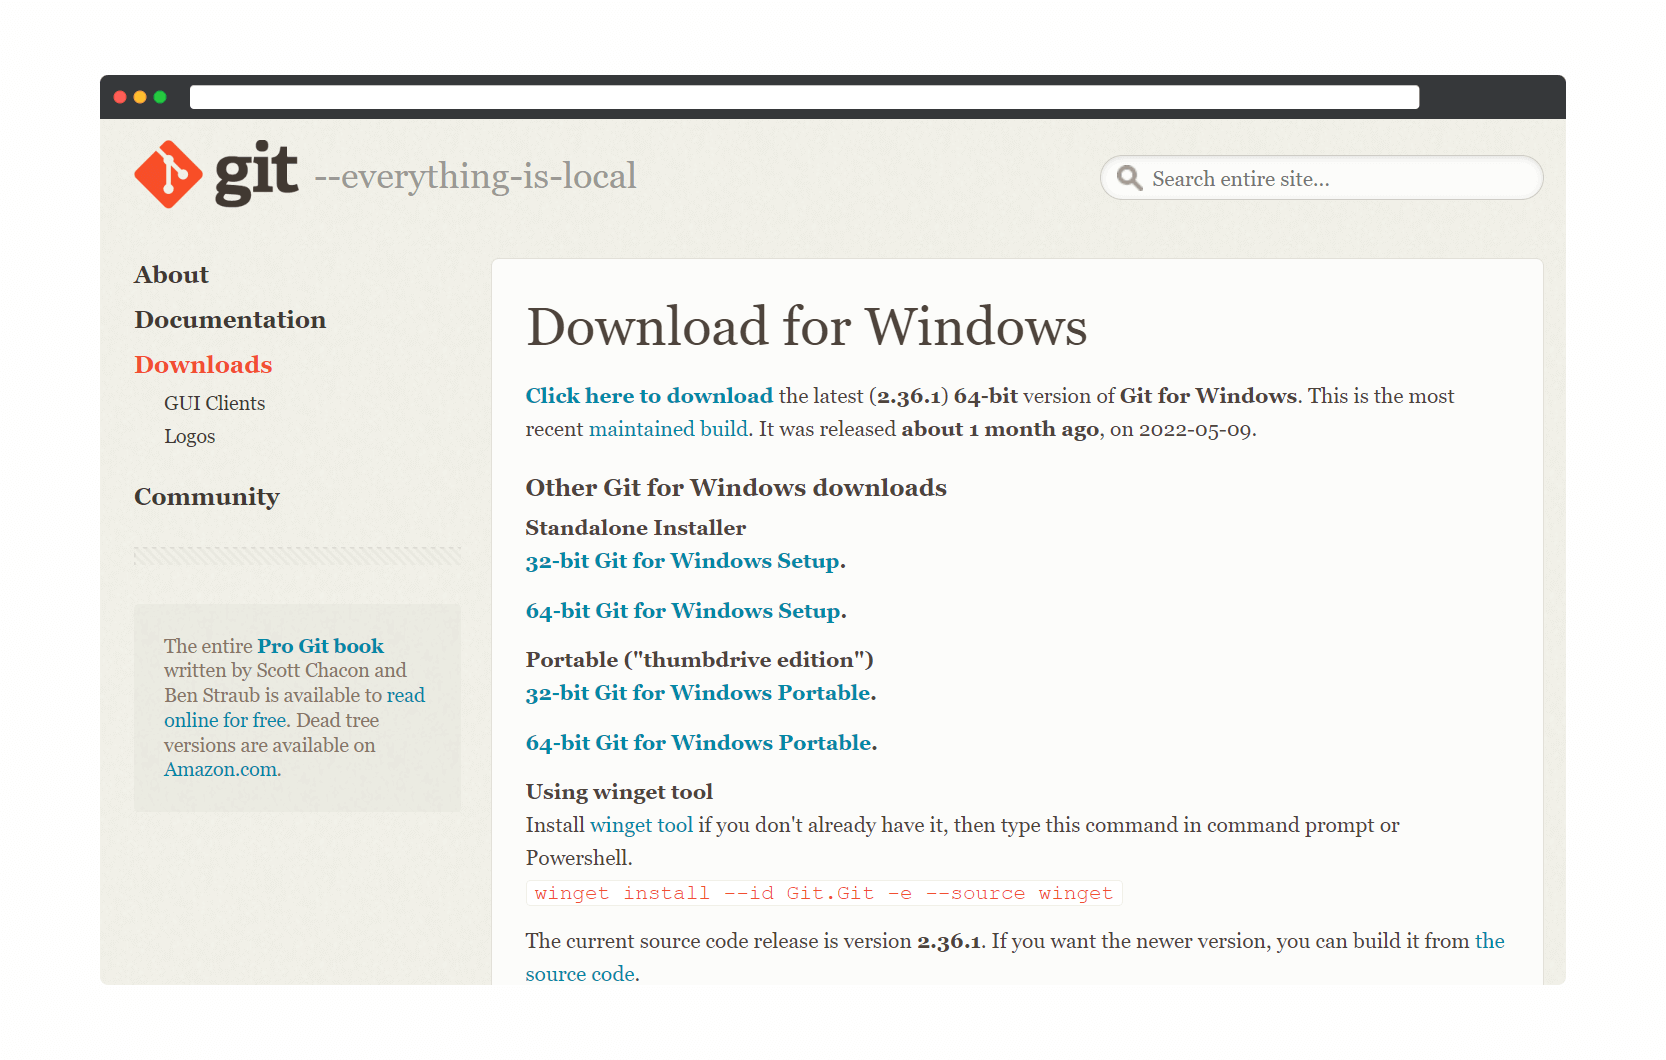
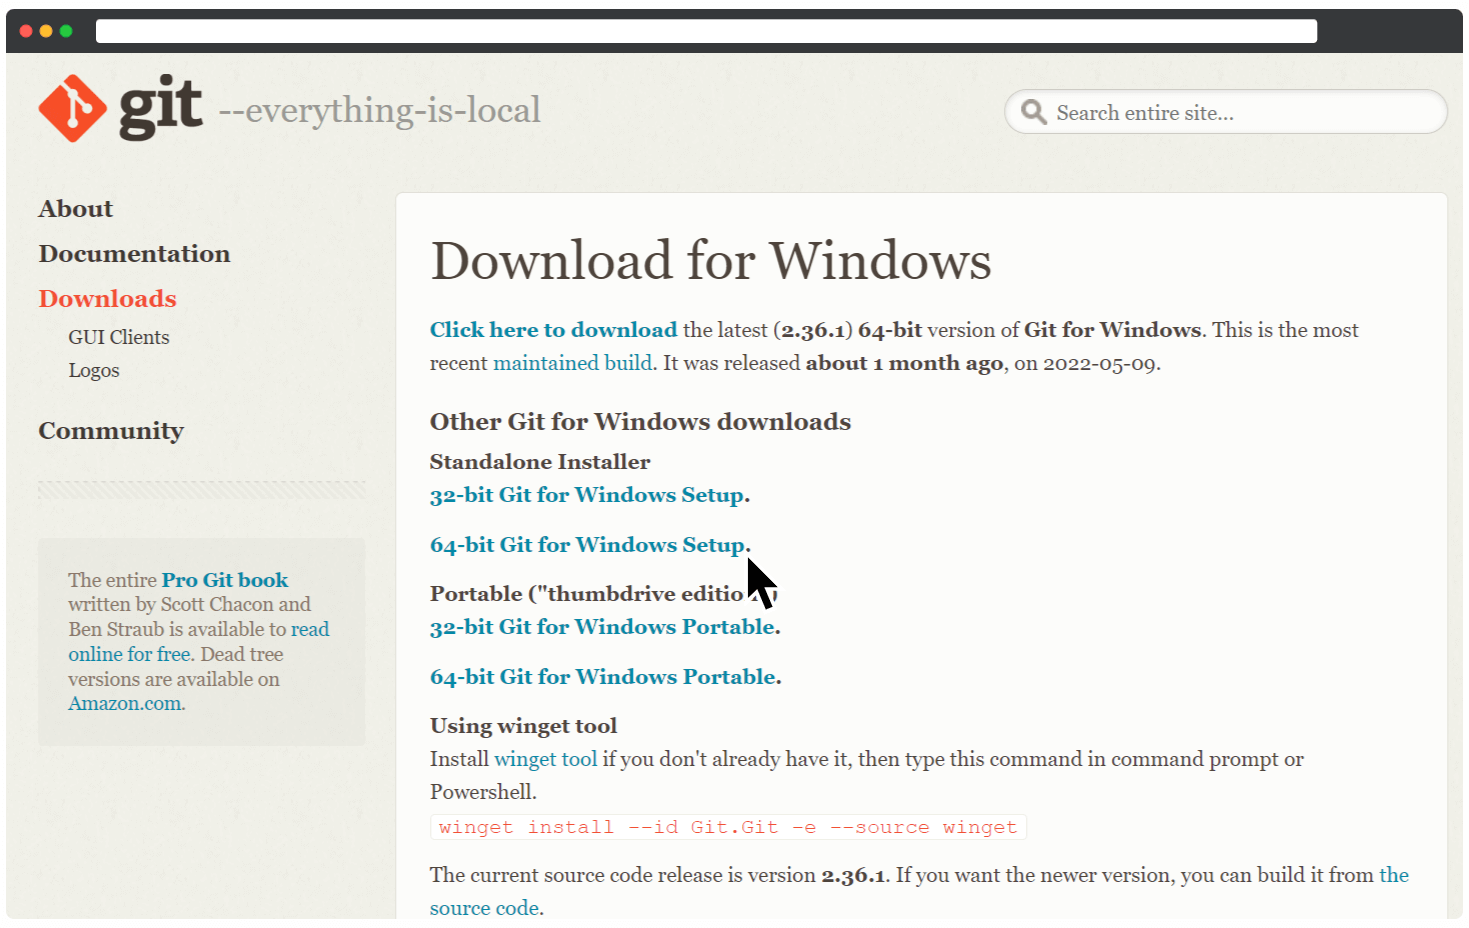
You need to click on the 64-bit Git for Windows Setup to download the standalone version. Once the user clicks on the setup, the file will be downloaded.
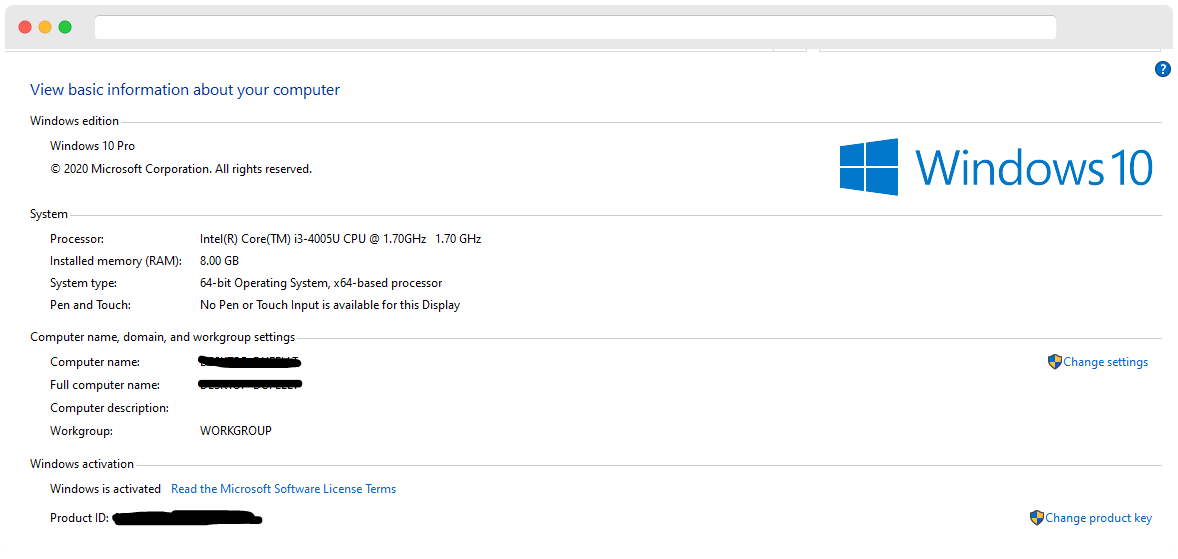
If you don’t know the version of your Windows operating system, then to see the version, you need to right-click on your My Computer icon and then you need to select properties.
Step 2: Run Git Setup
Great, after downloading the setup file, double-click it to run the installer. Click Next.
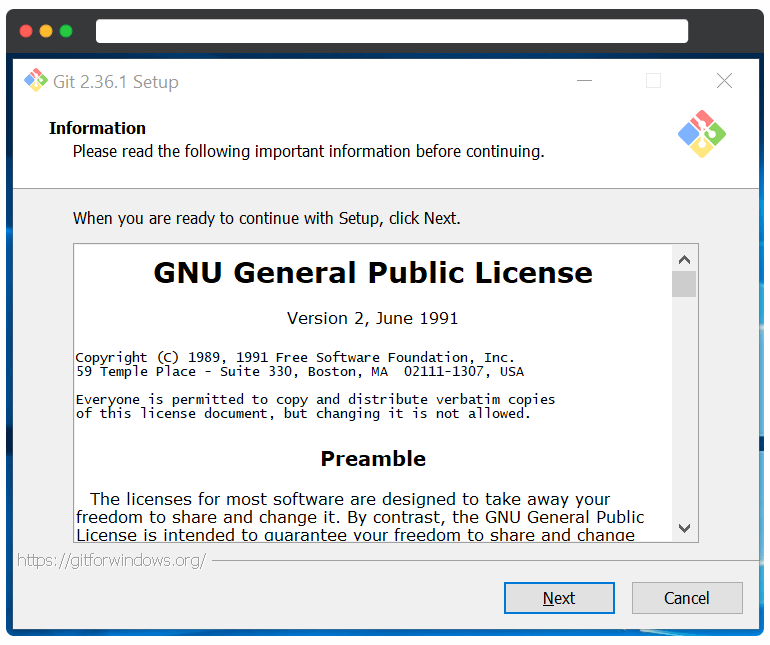
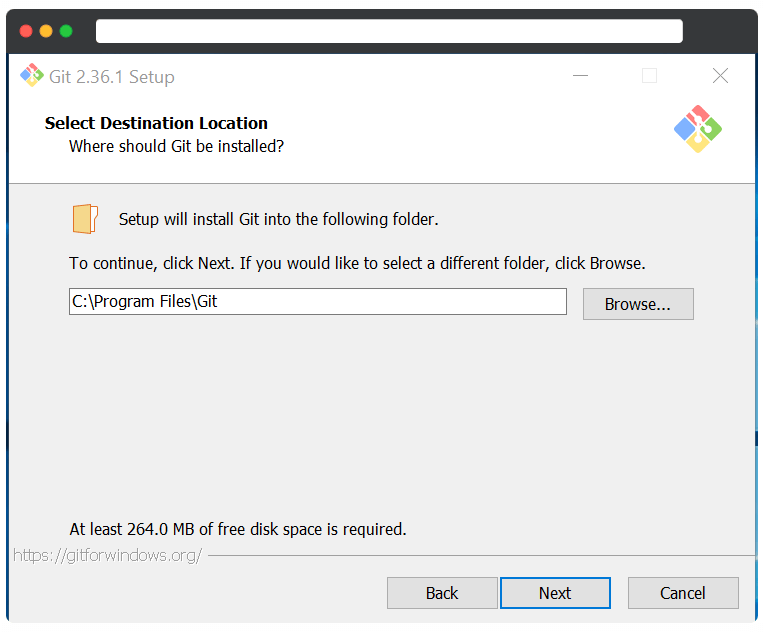
Keep the default installation location for the program, and click Next to continue.
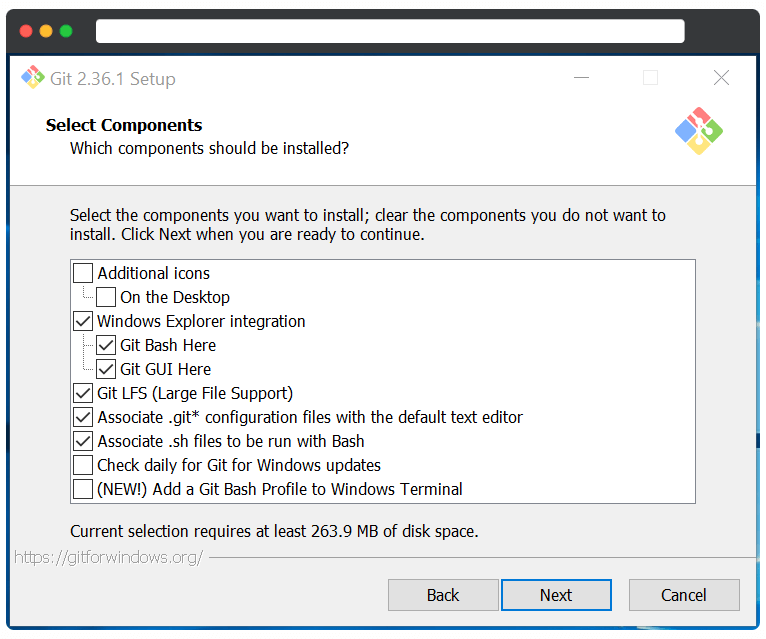
The next screen will allow you to select which components you want to install. We recommend leaving the options to default unless you have a specific reason to change something. Once you’re finished, click Next.
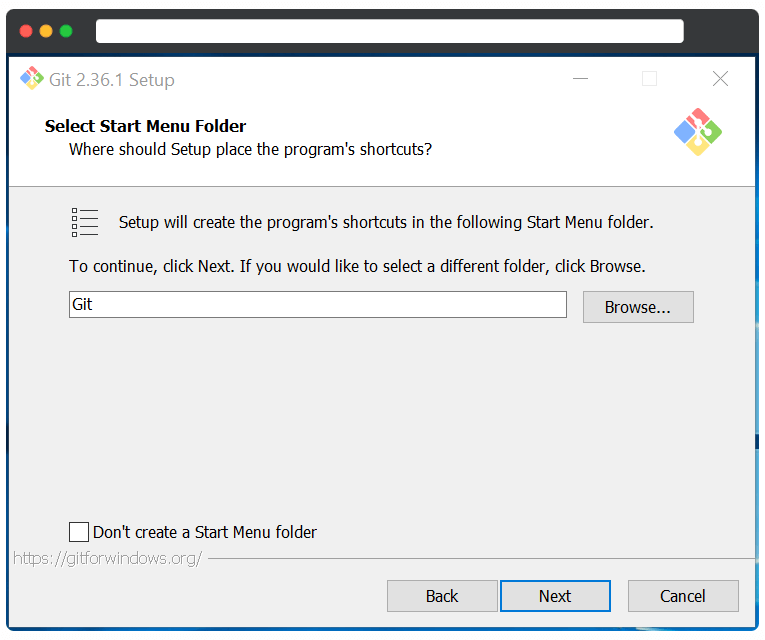
Click Next again.
You will need to select the default editor for Git on the following screen. To do so, click on the drop-down menu.
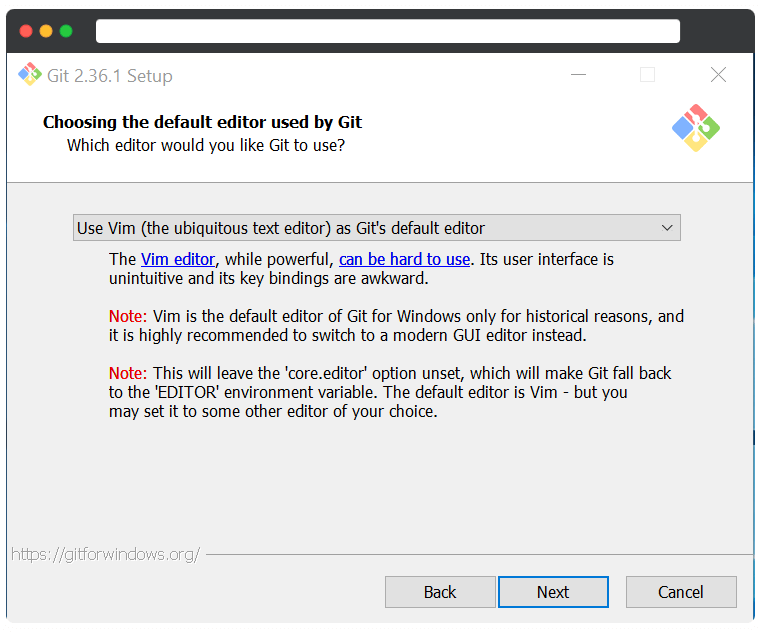
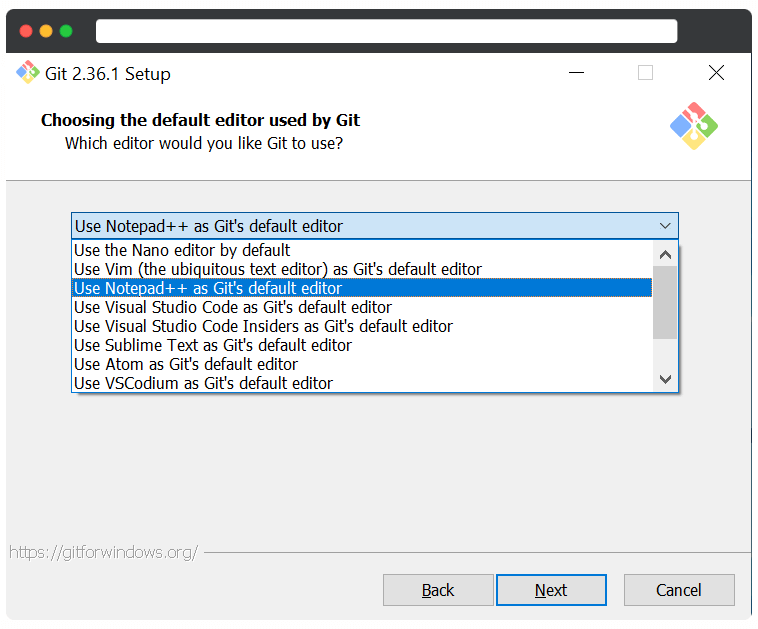
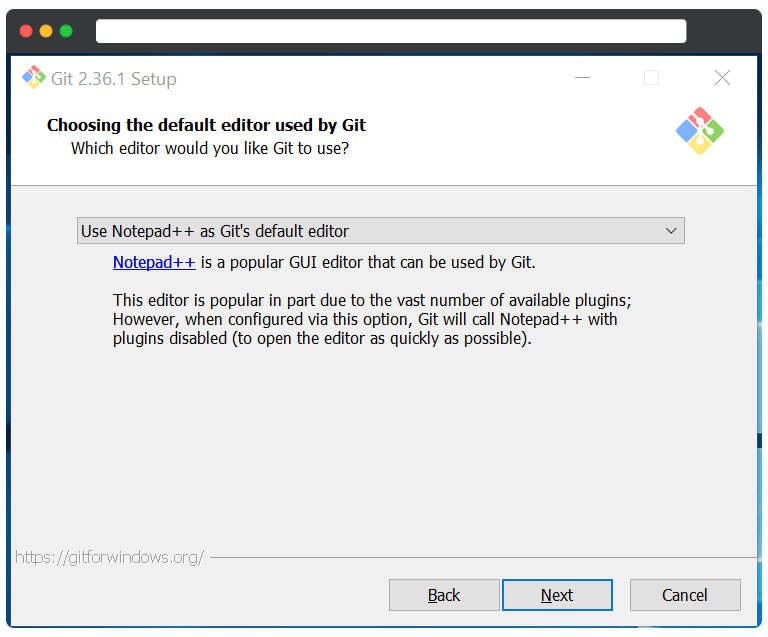
Then, select your text editor. As we have already installed Notepad++ on our machine, We are going with Notepad++. If you want to use any other option, you can choose as per your choice.
Click Next
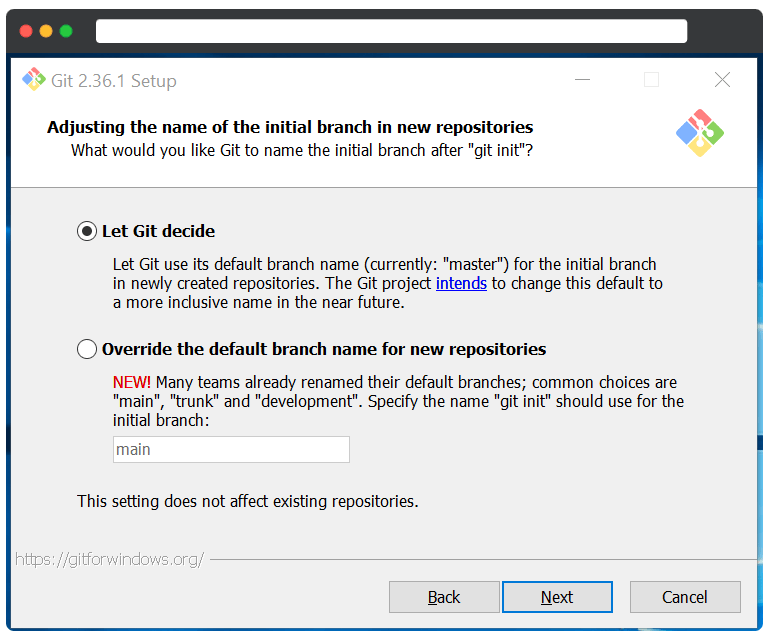
You can choose a different name for the initial branch in new repositories on the next screen. The default name is ‘master.’ Keep it that way unless you want a different one, and click Next.
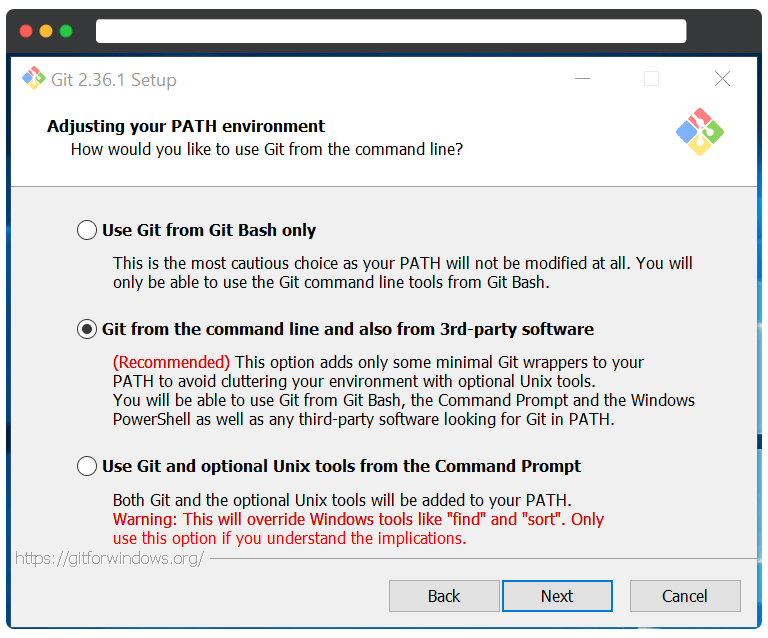
The next step is to add the PATH environment for Git when running commands from a command-line application. You should keep it set to default and then click “next.”
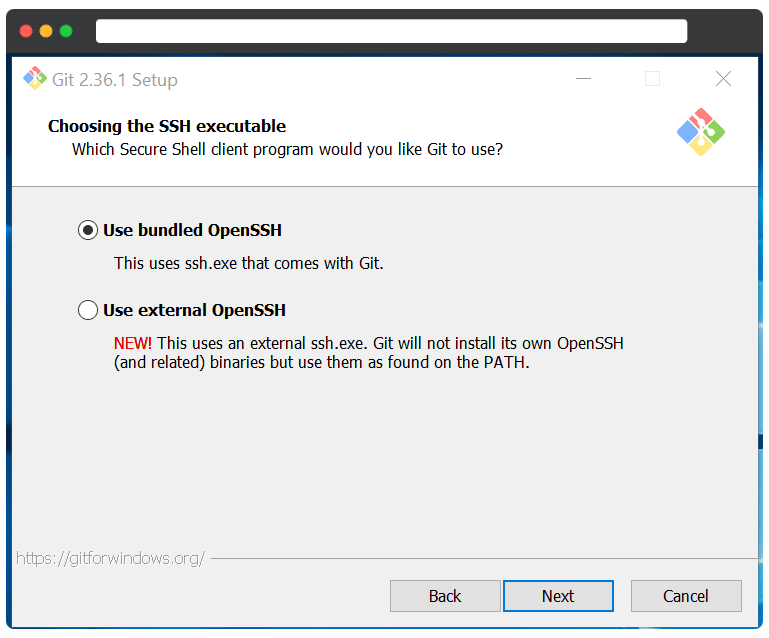
Now, you need to select the Secure Shell client program that Git will use. The installer comes bundled with OpenSSH, so no changes are required here unless you want to use an external OpenSSH. Click Next.
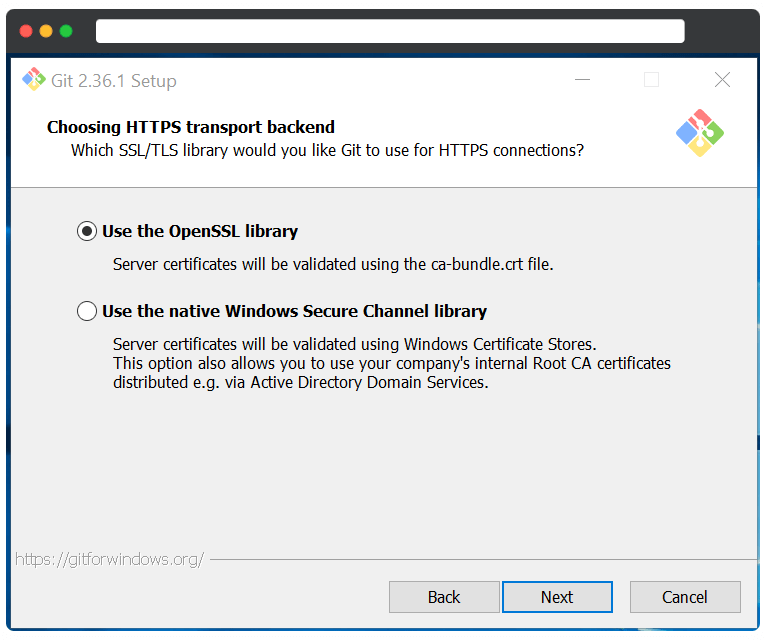
We recommend using the default OpenSSL library when choosing server certificates. Click Next to continue.
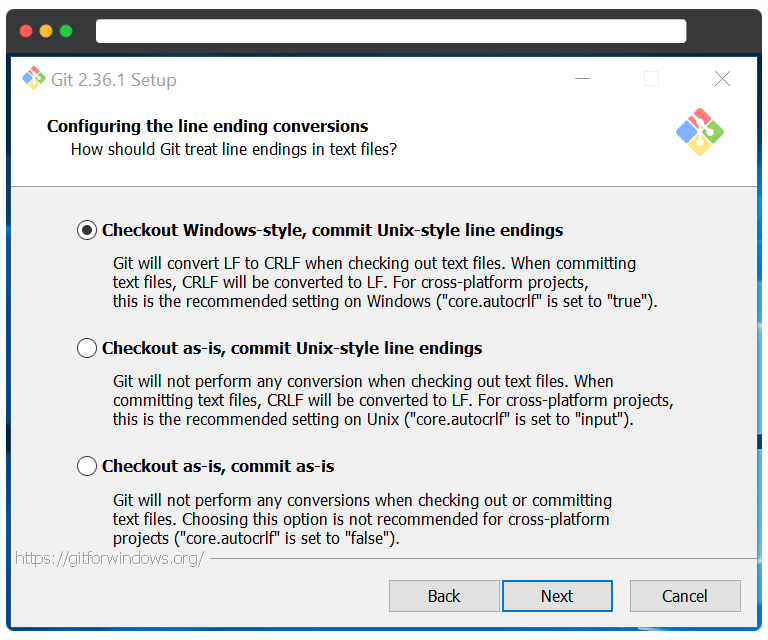
This section allows you to configure how line-ending conversations will work. Leave it set to default, then click Next.
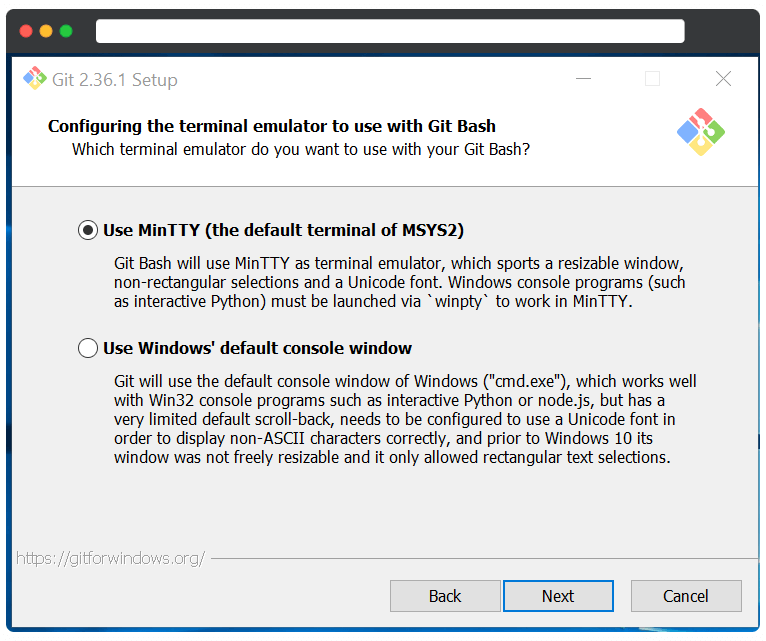
Now, choose the terminal emulator you would like to use. We recommend using the default MinTTY. Click Next to continue.
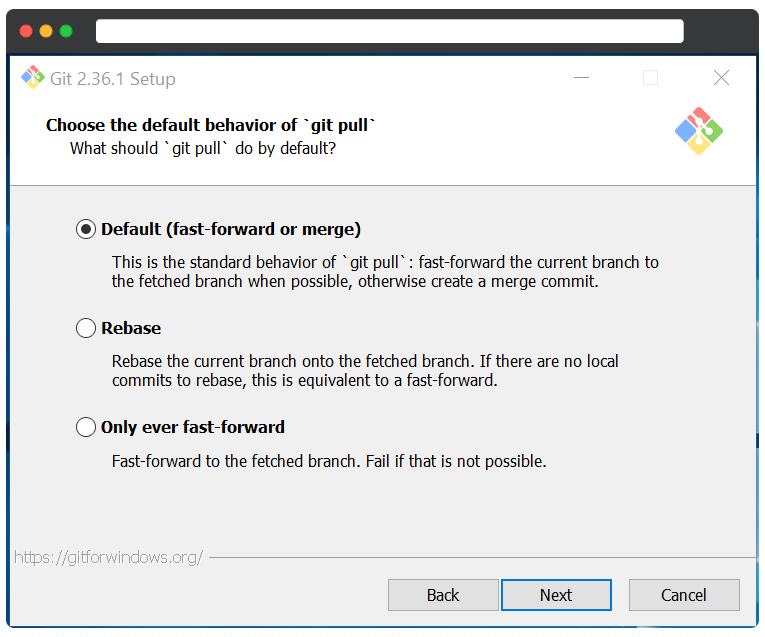
It is recommended that you keep the default behavior of the command git pull. If you do not want to change its behavior, then the default option is what you should choose. Click Next to continue.
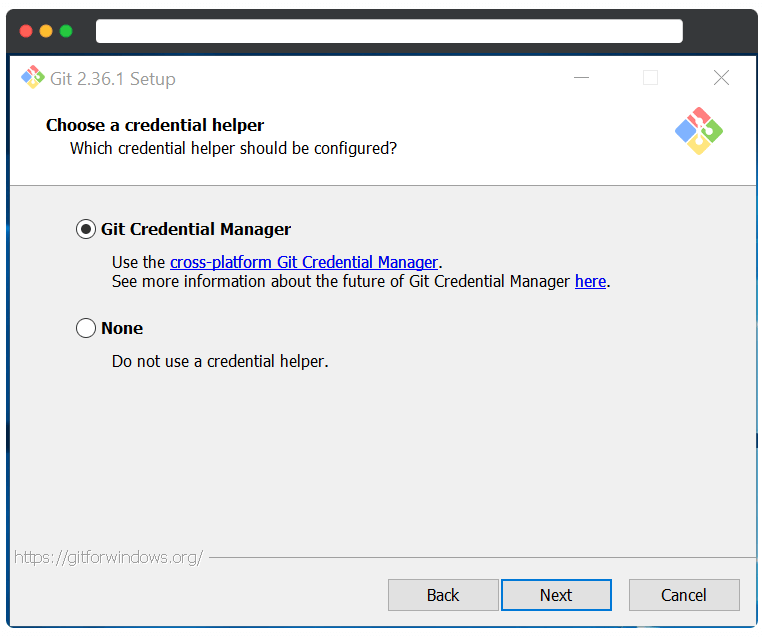
Choose a credential helper from the options provided. The Git Credential Manager core is the most stable, so select that option and click Next.
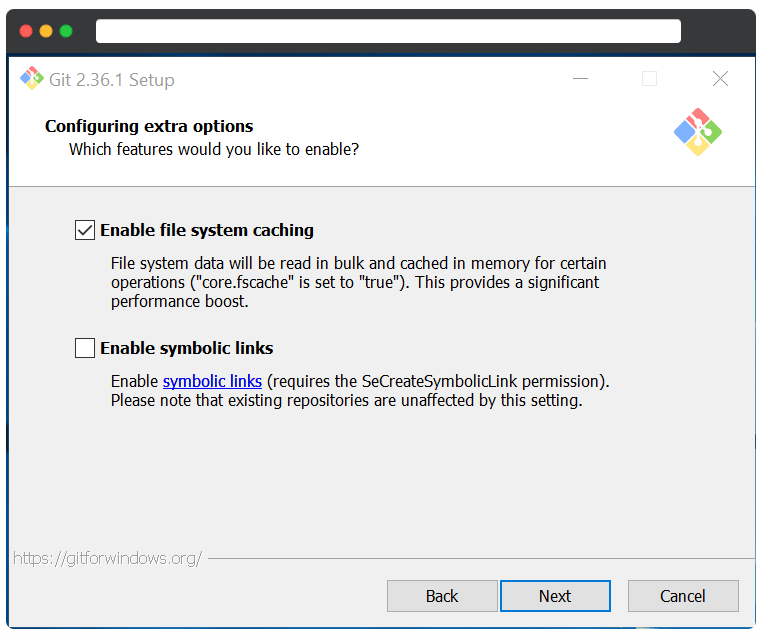
There are a few more things to configure. The first option is “Enable file system caching.” This is important for certain functions and also gives a significant performance boost. The other option is to enable symbolic links, similar to command-line shortcuts. Select it if you use them, or leave it be if you don’t need them. Then click Next.
The last options are “support for pseudo consoles” and a “built-in file system monitor.” These features are still being developed, so it’s best to leave them unchecked unless you want to try them out. Then click on Install.
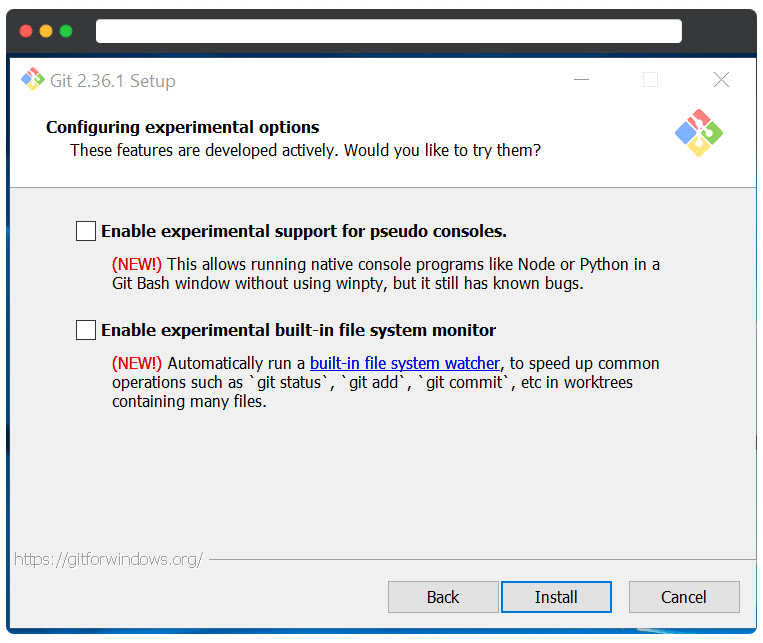
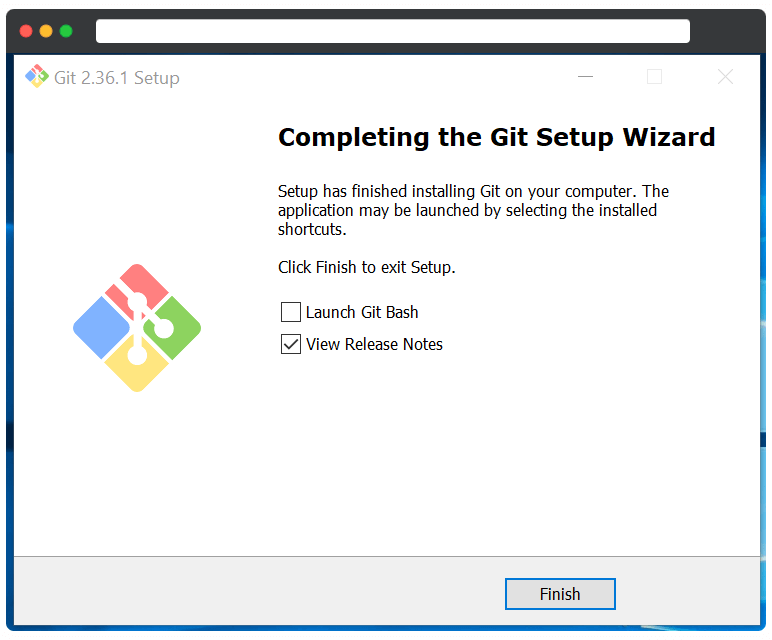
Once the installation is complete, click Finish.
Verify whether GIT is installed Or Not.
Until this, we have discussed the complete flow of How to install GIt on the Windows 11/10/8 operating system. I hope you have appropriately followed the installation of GIT on your machine. However, after installation, we need to verify whether the GIT installation went well or not.
Go to the command prompt of the Windows operating system, type Git, and press enter. If GIT is successfully installed on your machine, you will get the following screen.
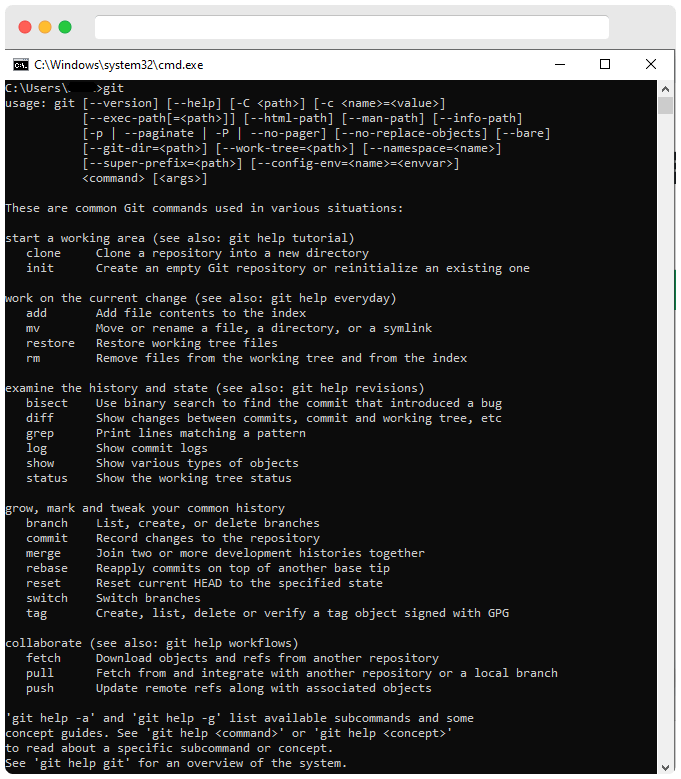
If you saw the above screenshot, you notice it displays dew other information and commands, which you can try with Git.
Step 3: Check the Git version
After you have installed Git, you must check if it has been installed correctly and find out its version number. To do this, go to the Start menu and launch the Git Bash program. You can verify the GIT version by using both GIT Bash and the Windows command prompt.
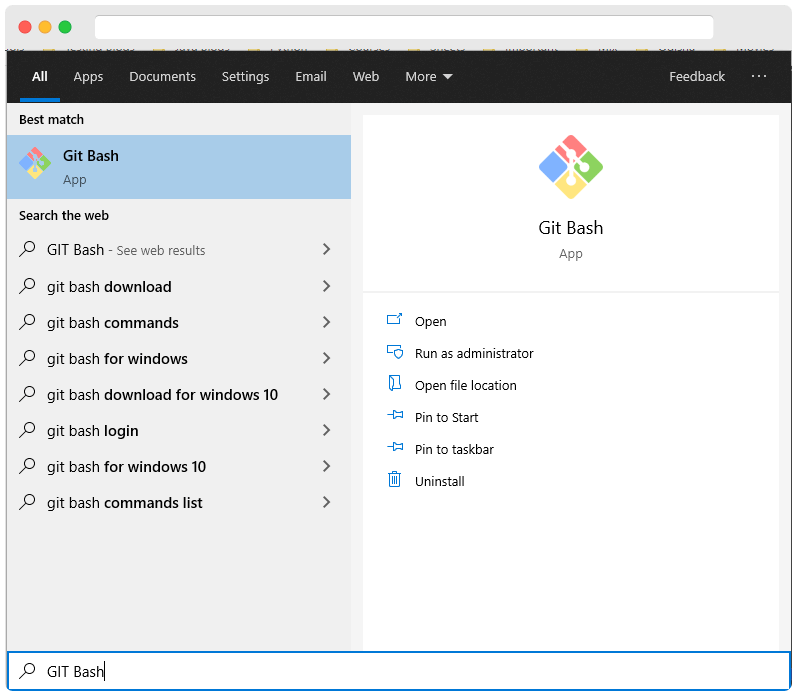
After git bash is launched, enter the below command and hit enter.
git –version
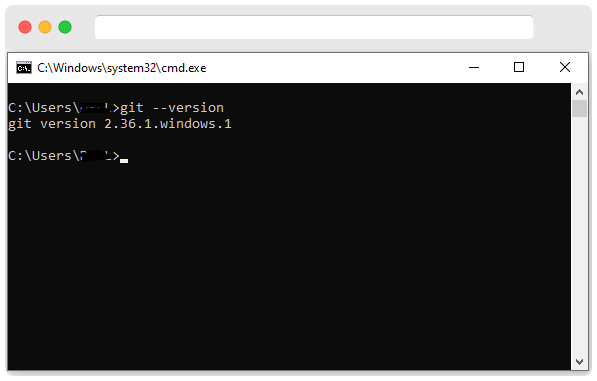
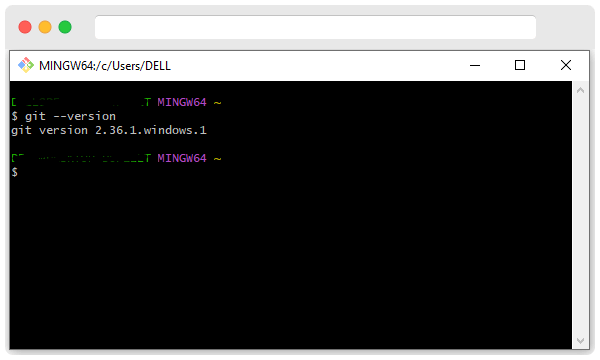
It will display you the installed git version of your PC.
Step 4: Configure Git with username and email
To use Git on Windows 11/10/8, you must configure it with your credentials. You can do that by executing the below command.
To execute this, open your GIT bash, type the command, and HIT Enter. Here, you need to replace "your user name“with your name.
git config --global user.name "your user name"
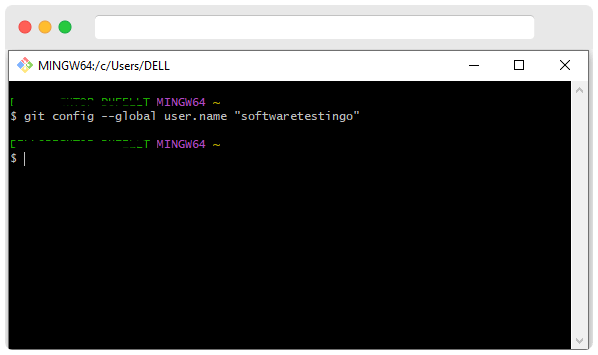
You need to execute the following command to configure the email id.
Git config –global user.email “your email address.”
Again, replace “your email address” with the email address associated with your Git account. Then press Enter.
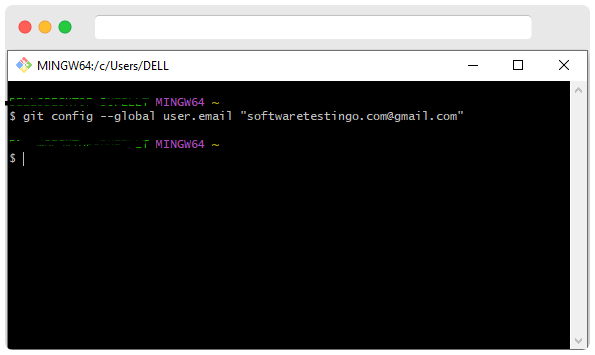
To check your configuration, type the following command and hit enter:
git config –global –list
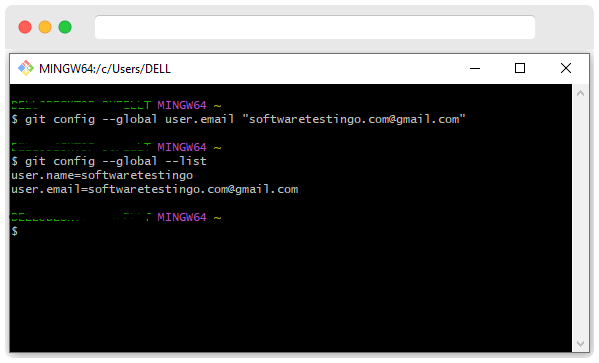
Note: If you want the configuration to apply to all of your repositories, use the –global command. Otherwise, use the– local command if you only want it to apply to your current repository.
Install GitHub Desktop for Windows 11
If you want an application with a graphical user interface to manage your Git repositories and allow others to collaborate, GitHub Desktop is the right tool for you. The installation process is also straightforward.
Go to the GitHub Desktop Official website link and download the Windows versions 32/64 bit.
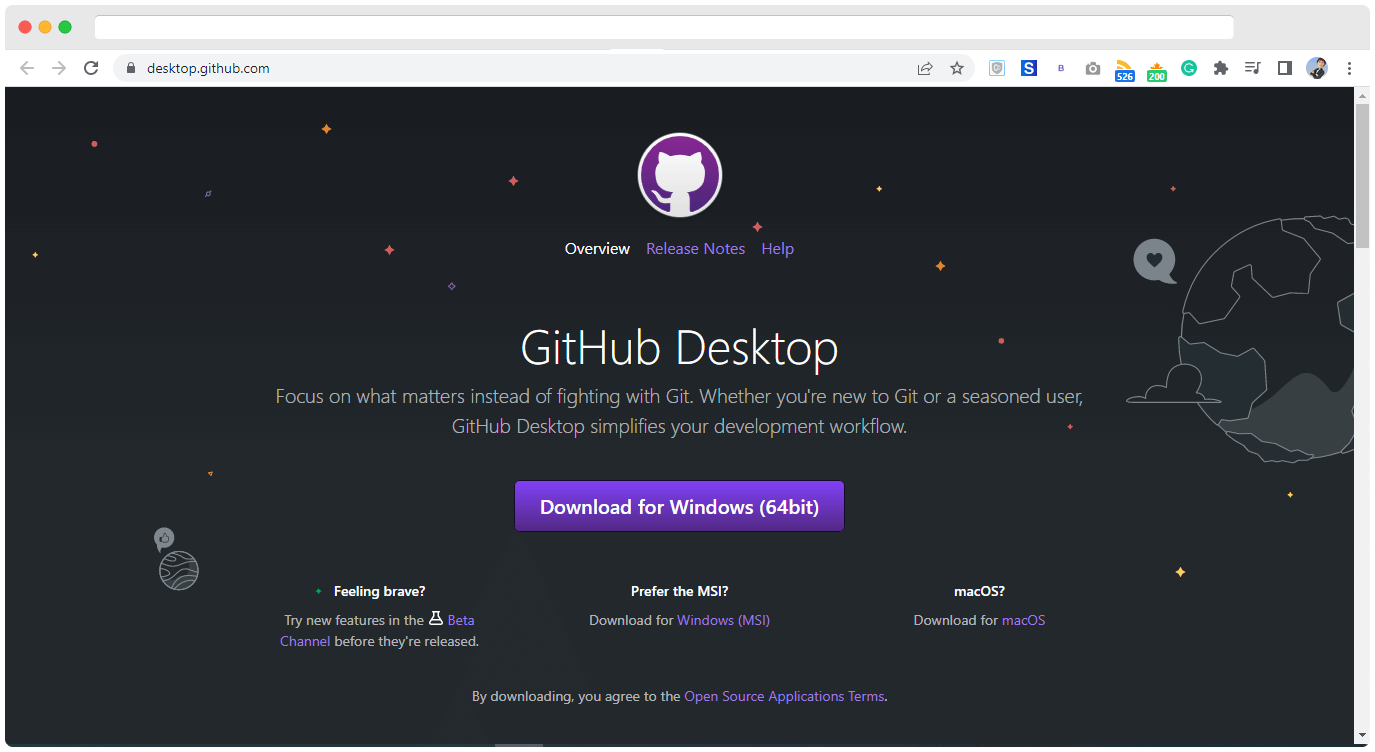
Firstly, download the setup. Then, run the downloaded setup. The installation process is automatic, and no changes will be required. After installation, you can either sign in to GitHub.com or Skip this step (as per your preference).

Type in your username and email. Then click Finish.
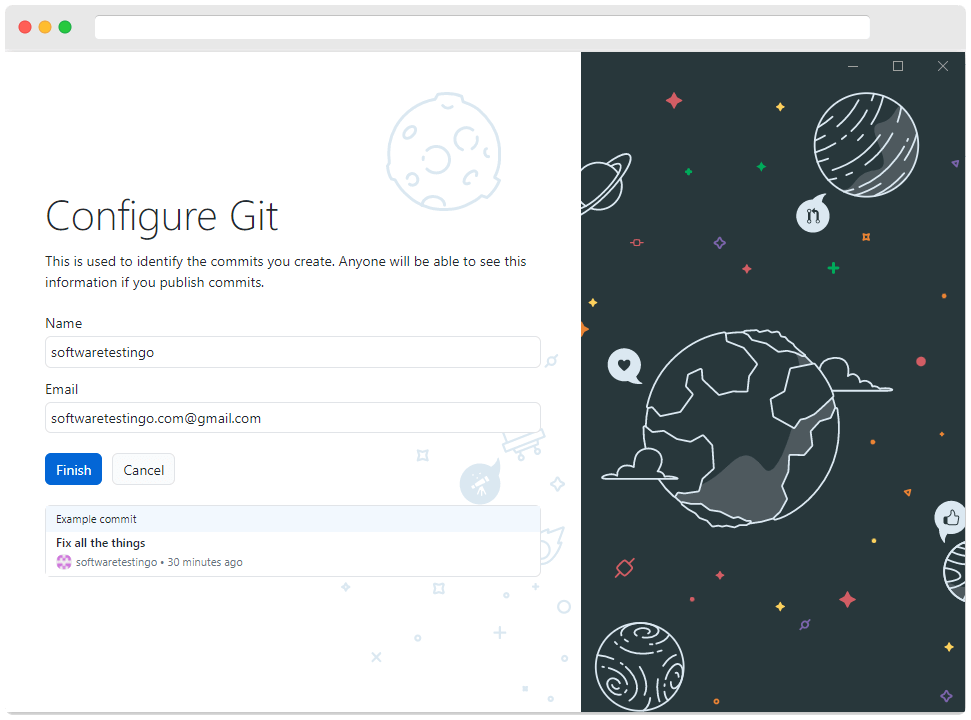
And that’s it! GitHub Desktop is now ready to use.
