In this tutorial, we’ll take the git log command to the next level so you can view your project’s Git History for File, Commit, and Branch and get familiar with some of the most used Git Log Commands. Please note that these commands are specific only to the git log.
In this tutorial, we’ll be covering some amazing topics! You’re not going to want to miss out on the below topics:
- Git Show Command
- View Commit Log Size
- View Commit History for a Date range
- Skipping top Commits
- View Author Commit History
- View Commit History in Reverse order
- View Commit Stats
What is the Git Show command?
If you’re familiar with the git log command, then the git show command will look very similar to you. The output is presented in the same format, so it should be easy for you to understand. There is very minimal difference between the git log and the git show command. The Git show command shows you two things extra, which are:
- The commit to which HEAD is pointing
- Difference between the versions of the file to which HEAD is pointing
HEAD is a pointer that always points to the most recent commit on the current branch. So, if you’re on the master branch and make a new commit, HEAD will now point to that commit.
Git Show Example
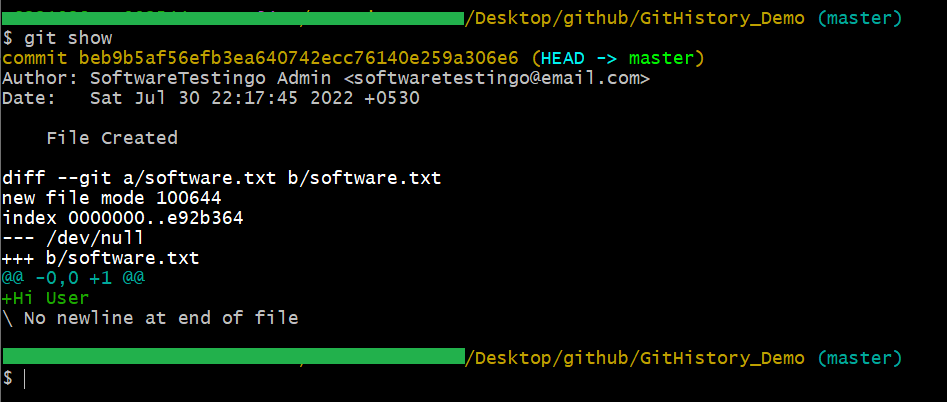
If you run Git show command without committing anything. Then you can get the below response:

Note: Without any Commit in the repository, if you run the git show command, then you will get the below error message.
Fatal: your current branch ‘master’ does not have any commits yet.
Let us create a new file called software.txt in the current repository and commit the changes. After that, you can run the git show command.
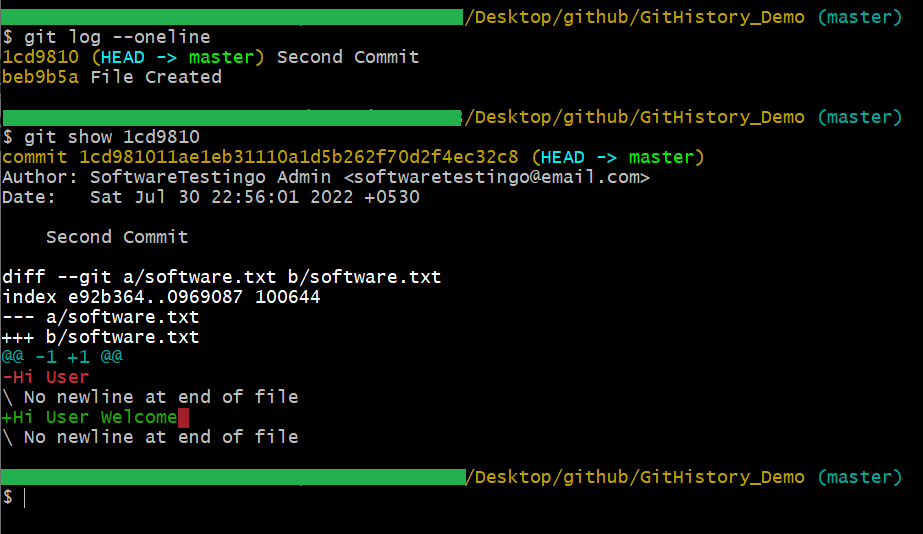
Let us divide the output of the git show command into two parts. If you observe, the green-marked output of the git show and git log command are similar, but we have also seen some red marked area that shows other information too.
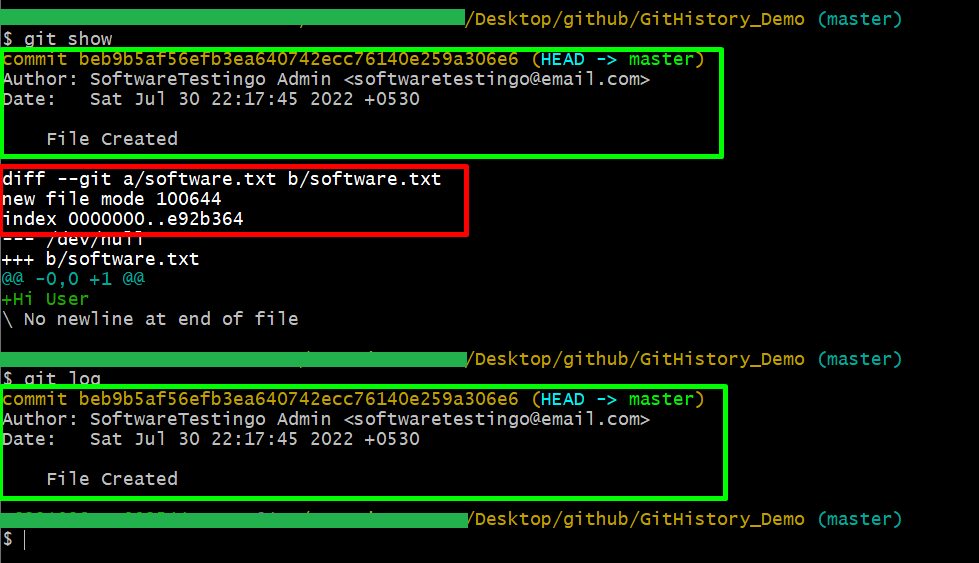
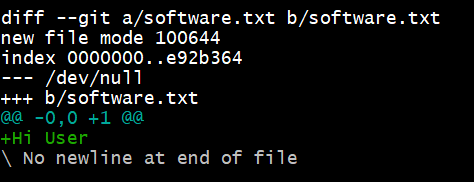
This red-marked part of Git is called the diff. I know you might be wondering what it is and how it works, but don’t worry! We have covered that in detail in our Git Diff tutorial. Let me just give you a brief overview of what it does. The diff function essentially tells you what changed between your most recent commit (the one currently pointed to by HEAD) and the one before it. You can see that Git has marked a/software.txt and b/software.tx in the first line to denote two specific states of your file software txt.
To view a particular commit, enter the hash value of that commit after the git show command, as shown below.
git show b75619639bec49f858321e84313017eb113a8ce1
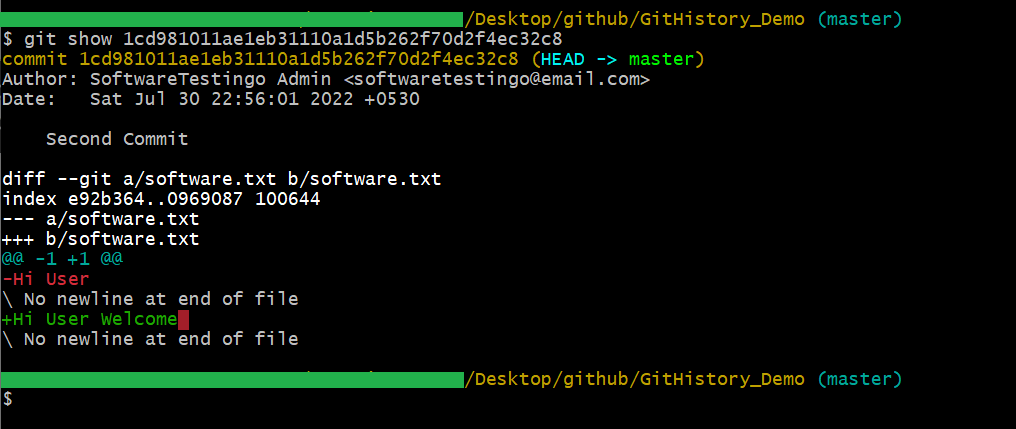
Note: You can use the compressed hash value that comes when we use the –oneline option. This will help you to save time and space.
How do you view the Git Commit History of specific intervals?
If you want to see all the commits that have happened since a certain date, you can use the git log command with a filter. Just type “git log –since=date” (replacing “date” with the actual date), and it will exclude any commit that happened on or after that date.
git log –since=<date>
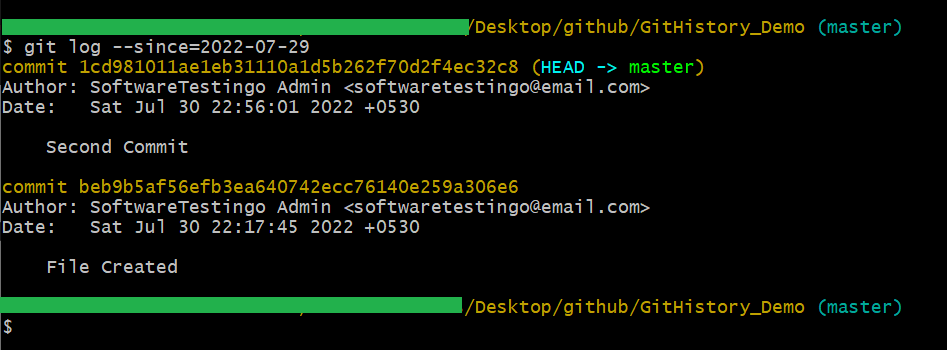
Note: The Date format should be YY-MM-DD
How to Skip a number of commits from the git log history?
If you want to skip a commit while viewing the Git Log, you can use the “skip” option. For example, if you type git log –oneline –skip=1, it will skip the first commit and show only the second one.
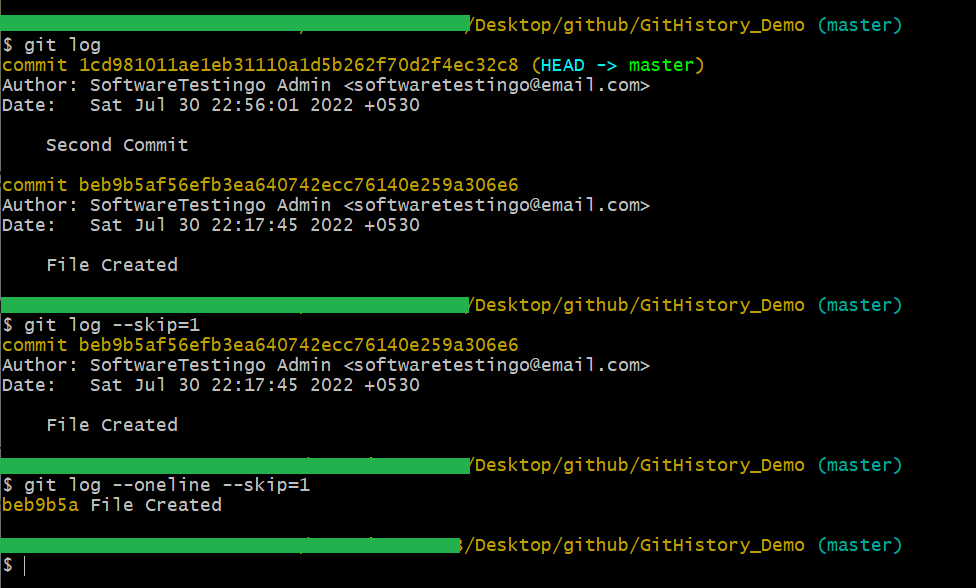
You can see that the ‘skip’ command has eliminated the top 1 commits. It’s not entirely clear why this command was first introduced, but it’s become quite popular and is now considered an important part of Git.
How do you view Git Commit History in chronological order (reverse)?
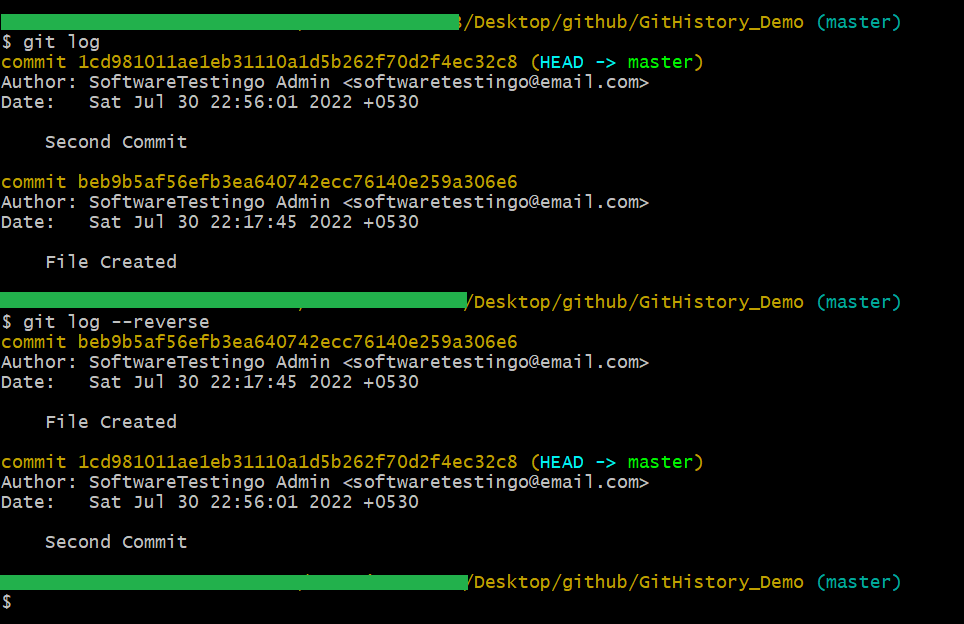
The order of commits when using the git log command was discussed in a previous tutorial. The commits are shown in reverse chronological order, with the most recent commit appearing first. This makes sense because we are usually more interested in the latest changes as we progress through a project repository. However, if you need to view the commits in chronological order, there is an option for that within Git. To see the commits in chronological order, type the below command:
git log –reverse
Git History: How to view Stats of Commit?
The stat command in the git log is useful for viewing the summary of files. We will see what the command does after looking at its output.
git log –stat
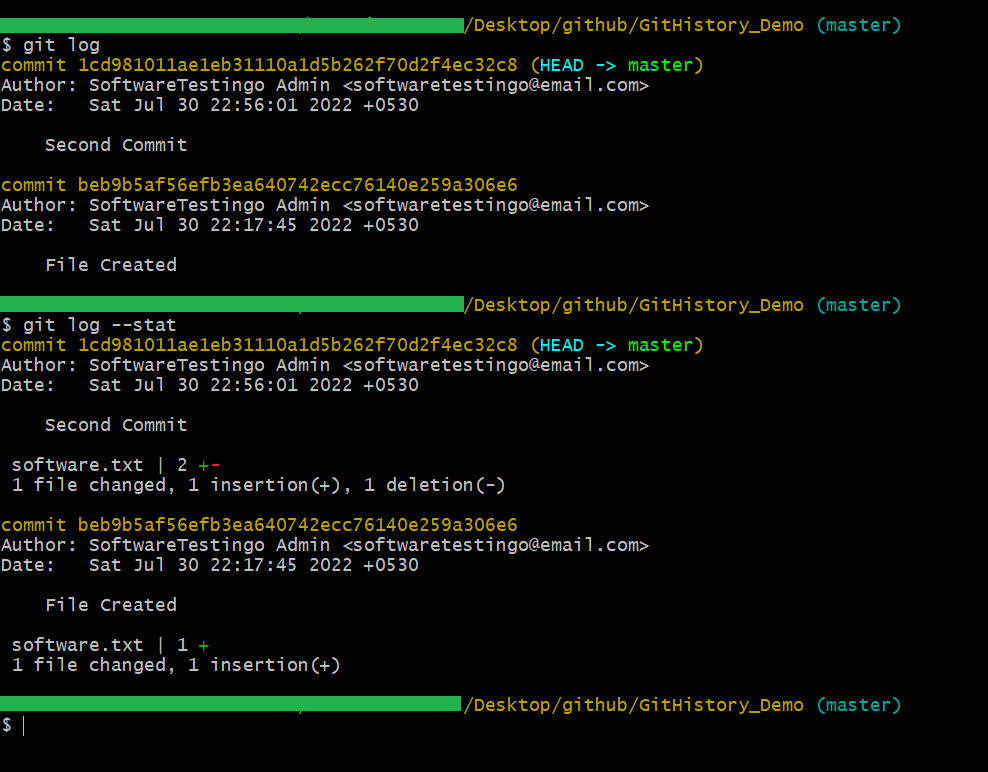
You can notice in the above screenshot it is displaying all the commits and their details. To see some specific commit details, you can use the full SHA ID, or you can use the short form like the one below:
git log –stat <SHA ID>

git log –stat –oneline

Git History: How to view log size in git history?
You can use the Git Log command to find out how big your log size is in digits. To do this, simply add the –log-size with the git log command.
git log –log-size
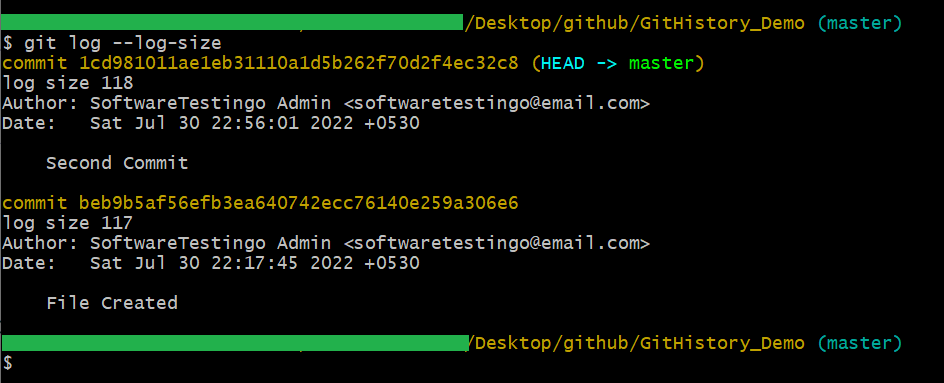
If you take a look at the console, you’ll notice an extra line that says “log size” followed by a number. This number is the commit message length in bytes, and it’s required by various tools that read commit messages through the git log command. By reading this number in advance, these tools can allocate the exact amount of space needed to save the commit message. That way, there’s no need to resize this buffer later.
Git History Conclusion:
The git history is an essential part of any git repository. By viewing the git history, users can get an idea about the development process and make necessary modifications. This tutorial demonstrates different ways to view the Git history by using different commands Git show and Git logs like a demo repository.
