Git Fetch Command: Hey there! Welcome back to our Git tutorial series. In the last tutorial, we learned about the awesome Git push command. Basically, the Git push command pushes the changes that you’ve made in your local repository up to the remote repository. This is great for team collaboration because it enables everyone to see and work with each other’s changes.
However, this was only one aspect of the story in which users have pushed their local changes to the remote repository. On the other hand, all other team members need to sync these changes from the remote repository down to their local repositories. Therefore, for this process, team members must fetch the changes and merge them into their local repositories.
In this tutorial, we will provide an overview of how to use Git Fetch and Git Merge to sync changes from the remote repository to your local machine. These are two essential tools for developers who use Git regularly, so understanding how they work is critical.
| Post Type: | GIT Tutorial |
| Published On: | www.softwaretestingo.com |
| Applicable For: | Freshers & Experience |
| Get Updates: | Join Our Telegram Group |
What is Git Fetch Command?
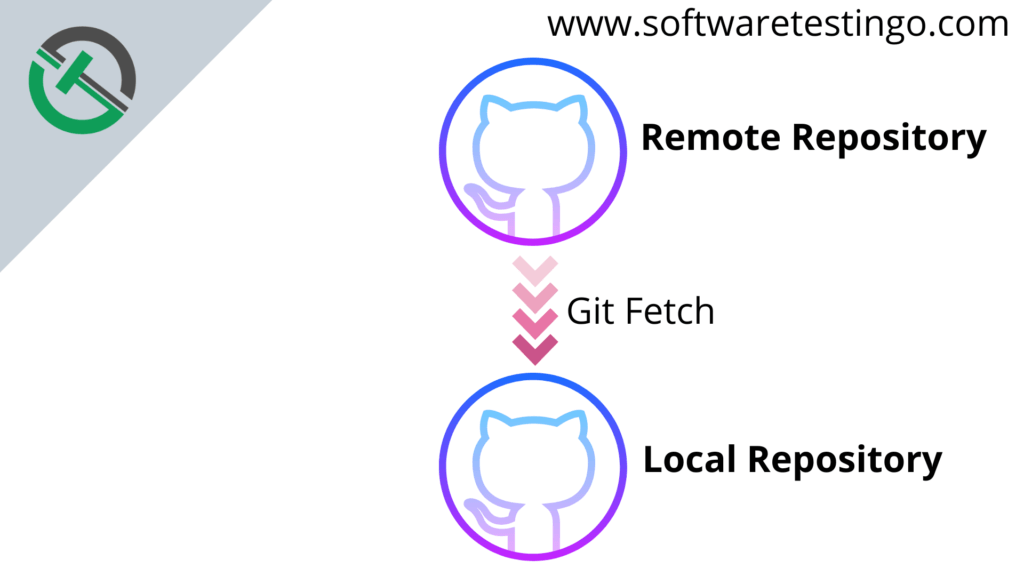
The Git fetch command downloads commit, refs, and files from a remote repository to the local repository. In other words, this command allows you to see all updates on the remote repository without affecting your working repository.
How To Use Git Fetch Command?
Before we use the command, we should make some changes to our remote repository so that when we fetch them through the local repository, the remote repository will be updated.
Follow the below steps for a GitHub account:
Open the GitHub account and open the respective repository.
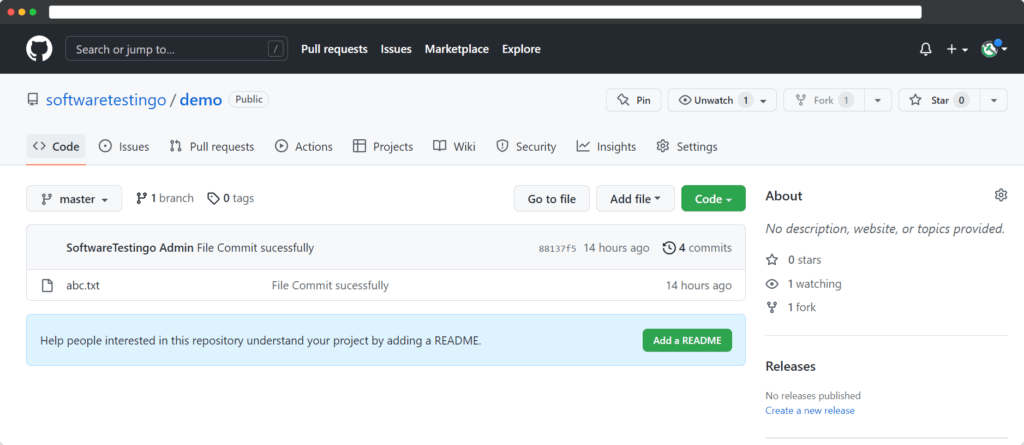
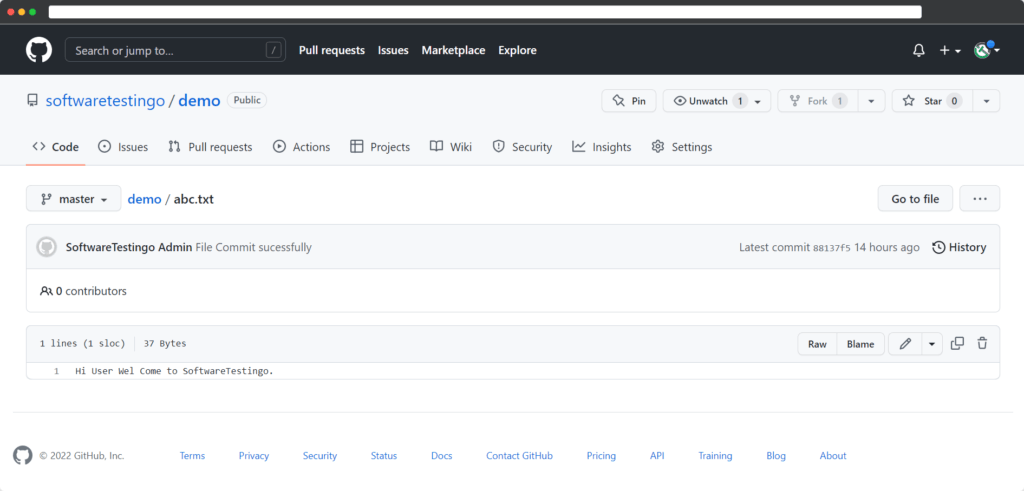
Click over the file name, and then the file will be opened
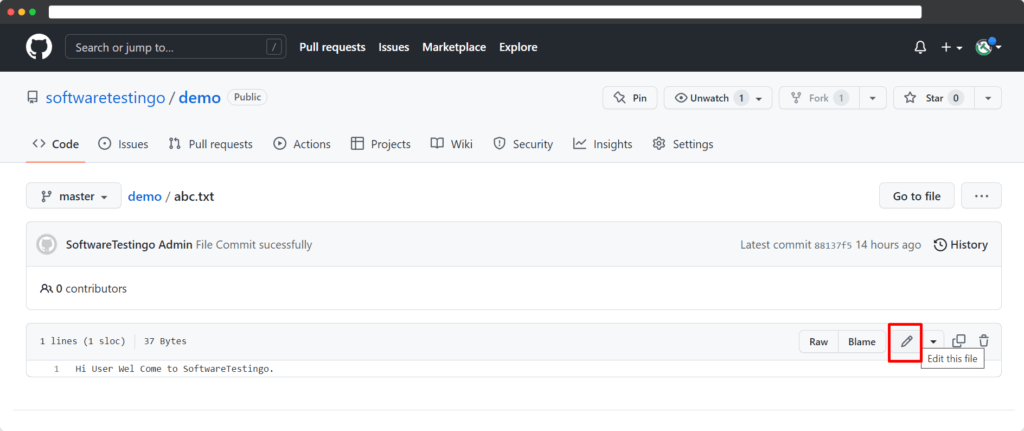
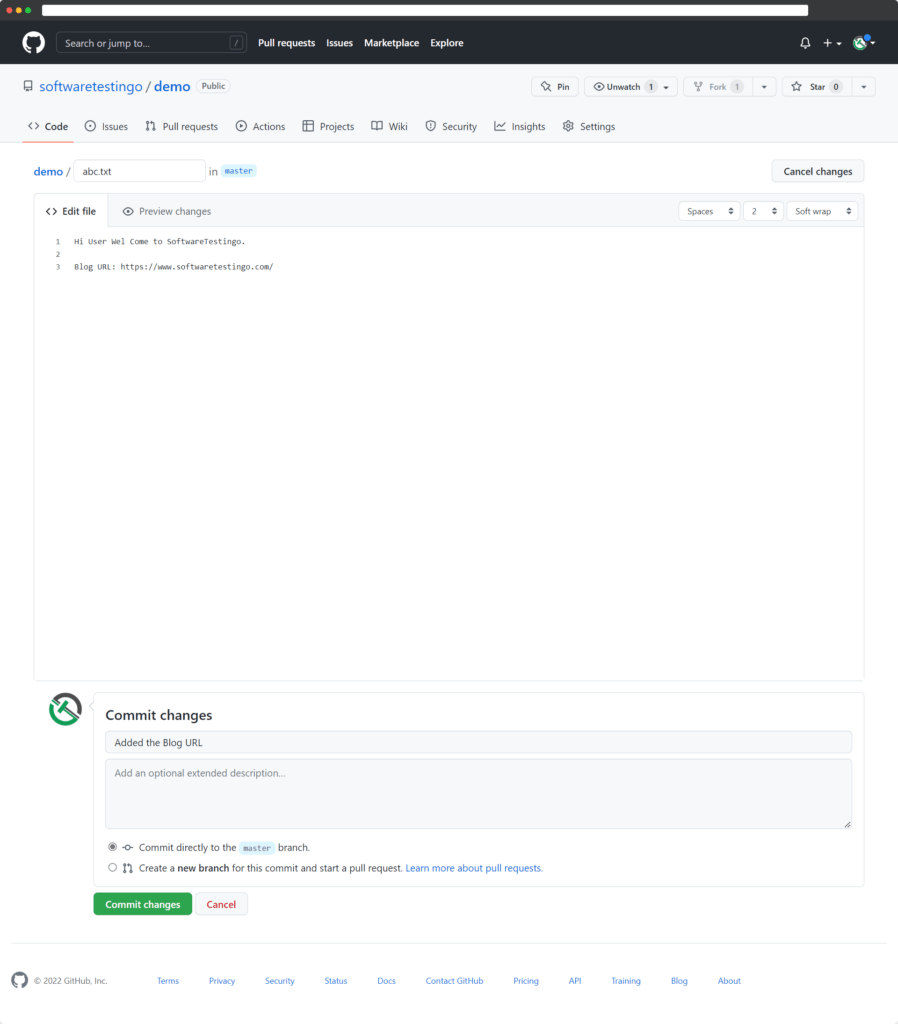
After that, Click on the Pencil Icon to Edit the File
After editing the file, scroll down to the end, and there click on commit changes by giving a meaningful description.
Then, check the modified file where you can notice the changes.
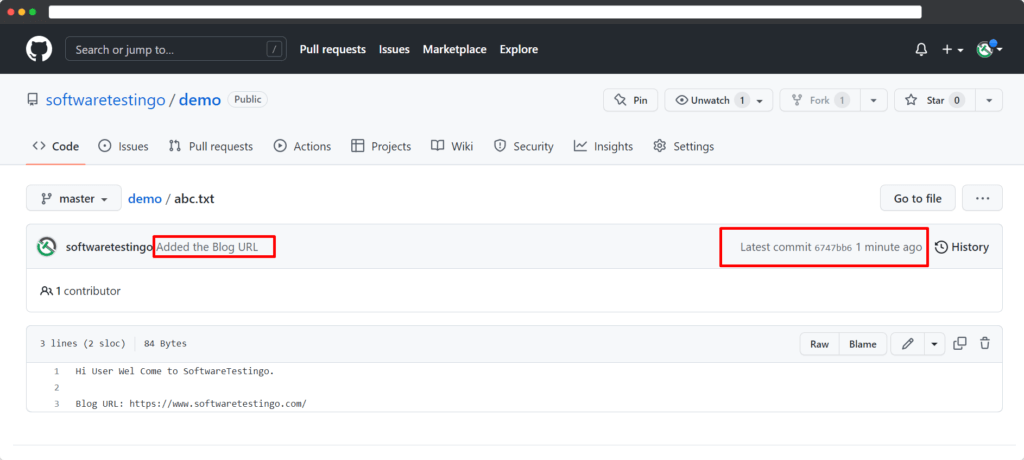
Until this, we have made the changes in the remote repository, but now we need to fetch those changes to the local repository.
To Fetch Changes From the Remote to the Local Repository
Open the Gitbash and Navigate to the working directory. There, you can confirm that any changes are there in that working directory by executing the git status command.
If there are no changes in that working directory, then you can run the Git Fetch command.

You can confirm whether your local repository is updated or not by the Git log command. Your screen should show a similar output as the image above; if you have successfully fetched changes from your remote repository, the changes are available on the local repository but will not reflect on the local repository files.
To be available, for the latest change in the local repository, we have to execute the merge command so that the latest changes in the remote repository will be merged with the local repository, and the changes will be reflected in the local repository.
Options in Git Fetch Command
If you want to use the Git fetch command efficiently, there are some options you can use. Let us discuss these:
All Option
This will fetch all the remote files, ref once.
git fetch –all

Dry Run Option
If you want to see how a command would execute without making any changes, use the dry run option.
git fetch –dry-run
