ToolTip Text in Selenium: This is another continuation post of the Java Selenium tutorial series. In this post, we will learn how to verify the tooltip text. Before discussing the tooltip, I would like to share some basic information about it so that a new learner can understand it easily.
For our readers, those who want to learn about the Selenium Tutorial, Core Java Tutorial, and other testing-related topics can then follow the mentioned links.
What is the Tooltip Text?
The tooltip text is a hidden text behind elements like images, buttons, links, etc., and when you place your mouse over those elements, some text appears that shares some of the information about that element or object.
For example, if you open facebook.com in your browser and place your mouse over the Facebook image, you may see the message “Go to Facebook Home, ” displayed after placing your mouse over the logo. So, that type of text message is called tooltip text.
Tooltips are traditionally implemented with the “title” attribute, so when you place the mouse on the element where the element is declared with the “title,” then whatever value is assigned to that element, that value will be displayed. Those elements are declared with the title tag. That element will display a static text that gives the pieces of information without styling.
But nowadays, there are many plugins available for the tooltip implementation. With those plugins, you can create an advanced tooltip with styling, rendering, images, and links with the help of JavaScript/JQuery plugins or using CSS tooltips.
You can handle the tooltip in 2 different ways:
- Using the “title” Attribute
- Using Actions class
Verify tooltip Using “title” Attribute
Implement the tooltip using the HTML “title” attribute for those elements. Then, in that case, you can use the getAttribute(“title”) method, which will return the information text. So, to verify that you can compare the expected text with this text.

package com.selenium.practice.basic;

import org.openqa.selenium.By;
import org.openqa.selenium.WebDriver;
import org.openqa.selenium.WebElement;
import org.openqa.selenium.firefox.FirefoxDriver;

public class TooltipExample
{
   public static void main(String[] args) throws InterruptedException
   {
      WebDriver driver;
      System.setProperty("webdriver.gecko.driver","Path Of Browser Driver");
      driver=new FirefoxDriver();
      driver.manage().window().maximize();
      driver.get("https://www.selenium.dev/");
      Thread.sleep(10000);

      WebElement SeleniumTooltipelEment = driver.findElement(By.id("gsc-i-id1"));
      String Tooltiptext=SeleniumTooltipelEment.getAttribute("title");

      System.out.println("The tooltip Text is: "+Tooltiptext);
   }
}
Output:
The tooltip Text is: search
Tooltip Text Verify Using Actions Class
Those tooltips are created by using the advanced jQuery\JavaScript plugins. So whenever you place the mouse over such objects, the tooltip message will appear, and whenever you move the mouse, that message disappears. So, it’s a challenging task to grab the tooltip text.
So, in that case, if you are thinking about using a title attribute, then there is no title attribute in many cases. It was developed so that when you place your mouse over there, it will generate a div tag, and inside that, you will find the tooltip text message. So, in those cases, you can not use the getAttribute() method. To handle such a situation, we can take the help of the Actions class to verify the tooltip message.

package com.selenium.practice.basic;

import org.openqa.selenium.By;
import org.openqa.selenium.JavascriptExecutor;
import org.openqa.selenium.WebDriver;
import org.openqa.selenium.WebElement;
import org.openqa.selenium.firefox.FirefoxDriver;
import org.openqa.selenium.interactions.Actions;
import org.openqa.selenium.support.ui.ExpectedConditions;
import org.openqa.selenium.support.ui.WebDriverWait;

public class TooltipExample2
{
   public static void main(String[] args) throws InterruptedException
   {
      WebDriver driver;
      System.setProperty("webdriver.gecko.driver","Path Of Browser Driver File");
      driver=new FirefoxDriver();
      driver.manage().window().maximize();
      driver.get("https://jqueryui.com/tooltip/");
      Thread.sleep(10000);

      JavascriptExecutor js = (JavascriptExecutor) driver;
      js.executeScript("window.scrollBy(0,350)");

      WebDriverWait wait = new WebDriverWait(driver, 5);
      wait.until(ExpectedConditions.frameToBeAvailableAndSwitchToIt(By.cssSelector(".demo-frame")));


      WebElement element = driver.findElement(By.id("age"));

      Actions action = new Actions(driver);
      action.moveToElement(element).build().perform();
      WebElement toolTipElement = driver.findElement(By.cssSelector(".ui-tooltip"));

      String toolTipText = toolTipElement.getText();
      System.out.println("The Tooltip Text is: "+toolTipText);

      driver.close();
   }
}
Output:
The Tooltip Text is: We ask for your age only for statistical purposes.
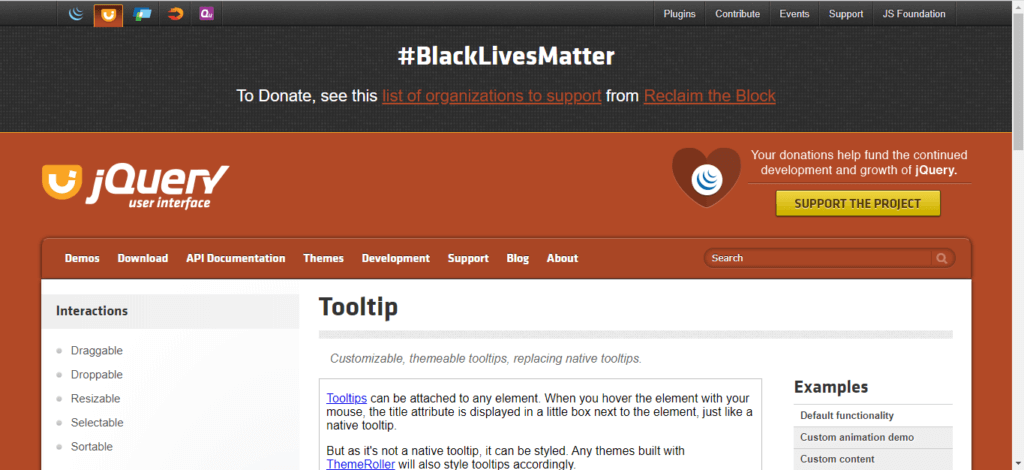
You may be slightly confused about why we use JavascriptExecutor if you see the above example program. Let Us clarify that while writing this article on the JQuery website, we have noticed one banner; because of that, our required element is not visible on the page.

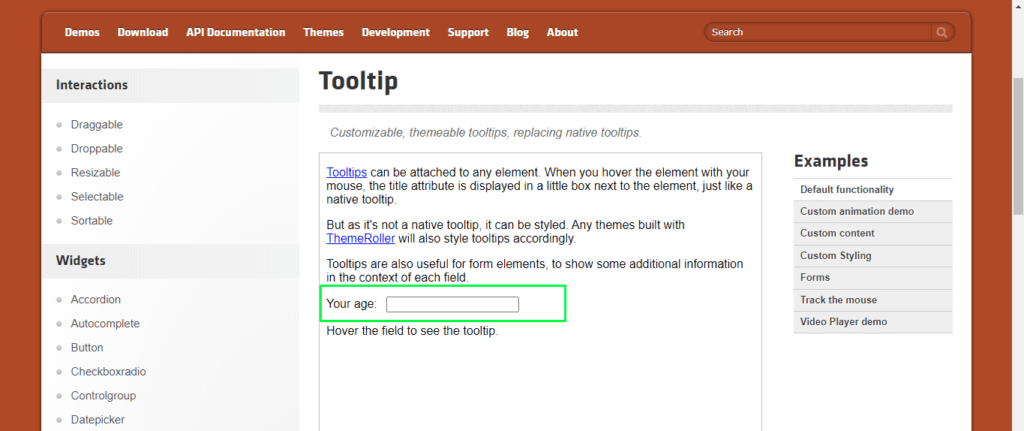
But our required element is:

So, to make the required element available in the visible area, we have to implement the scroll option with JavascriptExecutor & Scroll. When you practice at that time, if the banner is absent, you can write the same program without using JavascriptExecutor.
To learn more about scrolling, refer to the complete article Scroll Down or UP a Page in Selenium Webdriver.
I hope this article will help you verify the tooltip message on your application. If you are using any other way or facing any difficulties, feel free to drop a comment, and we are happy to help you.
